
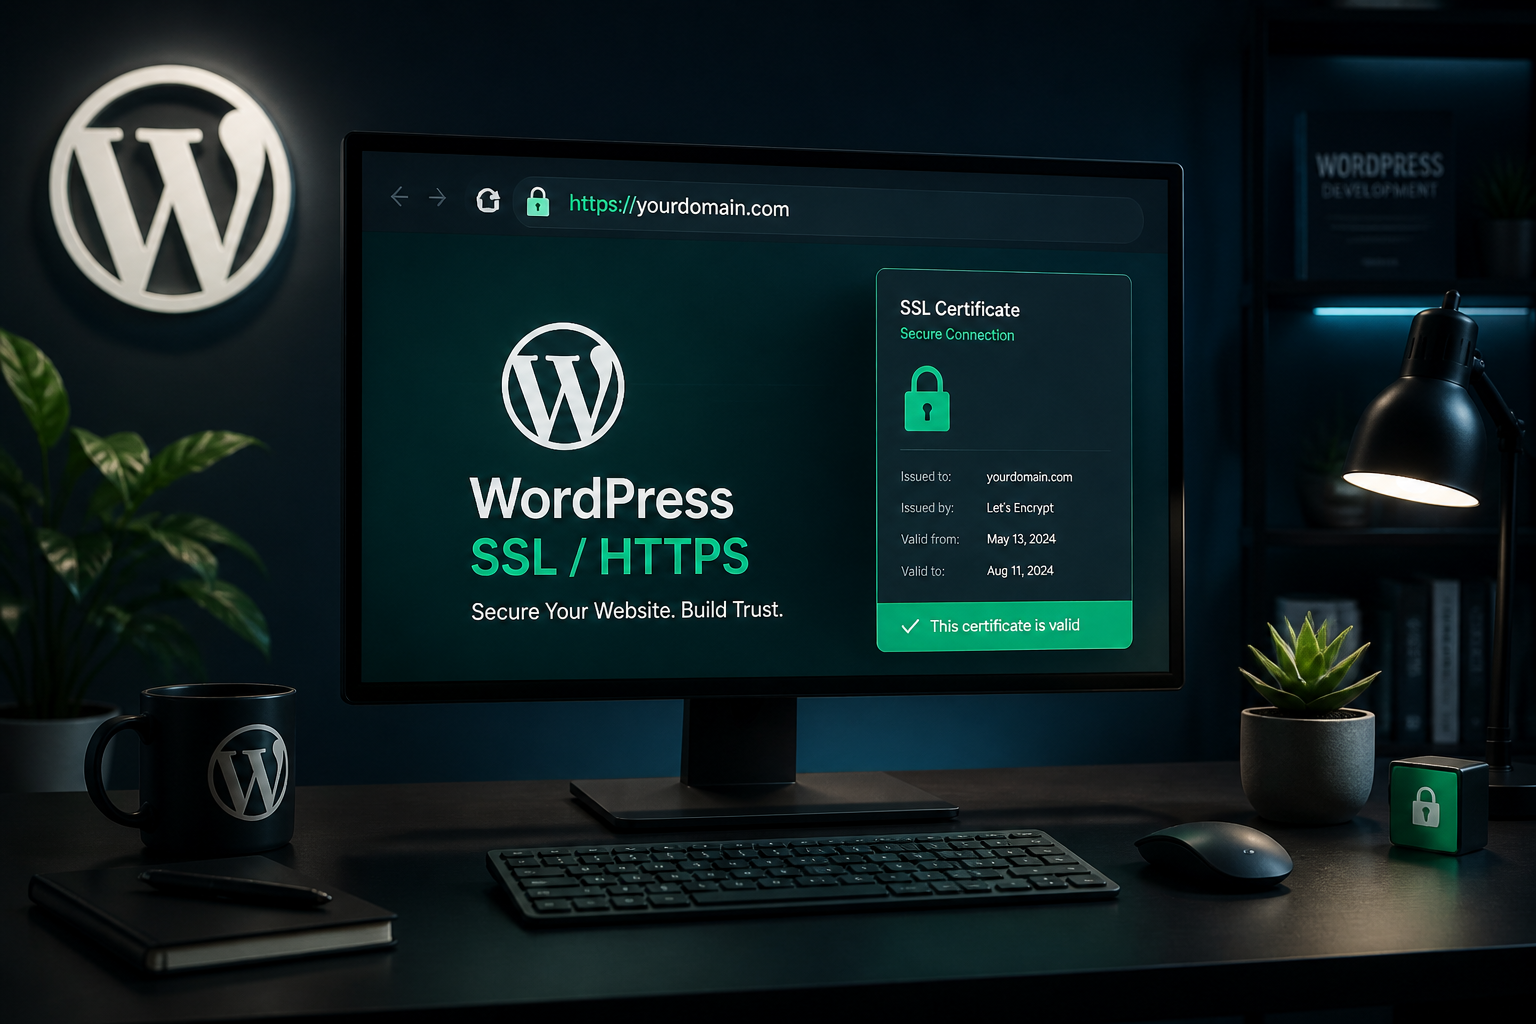
HTTPS encrypts data between your visitors' browsers and your server. Without it, login credentials, form submissions, and session cookies travel in plain text — readable by anyone on the same network, ISP, or compromised router.
Every WordPress site should serve HTTPS in 2026. Certificates are free, every host supports them, and browsers mark HTTP sites as "Not Secure." There is no legitimate reason to run WordPress without SSL.
What SSL/TLS does for WordPress
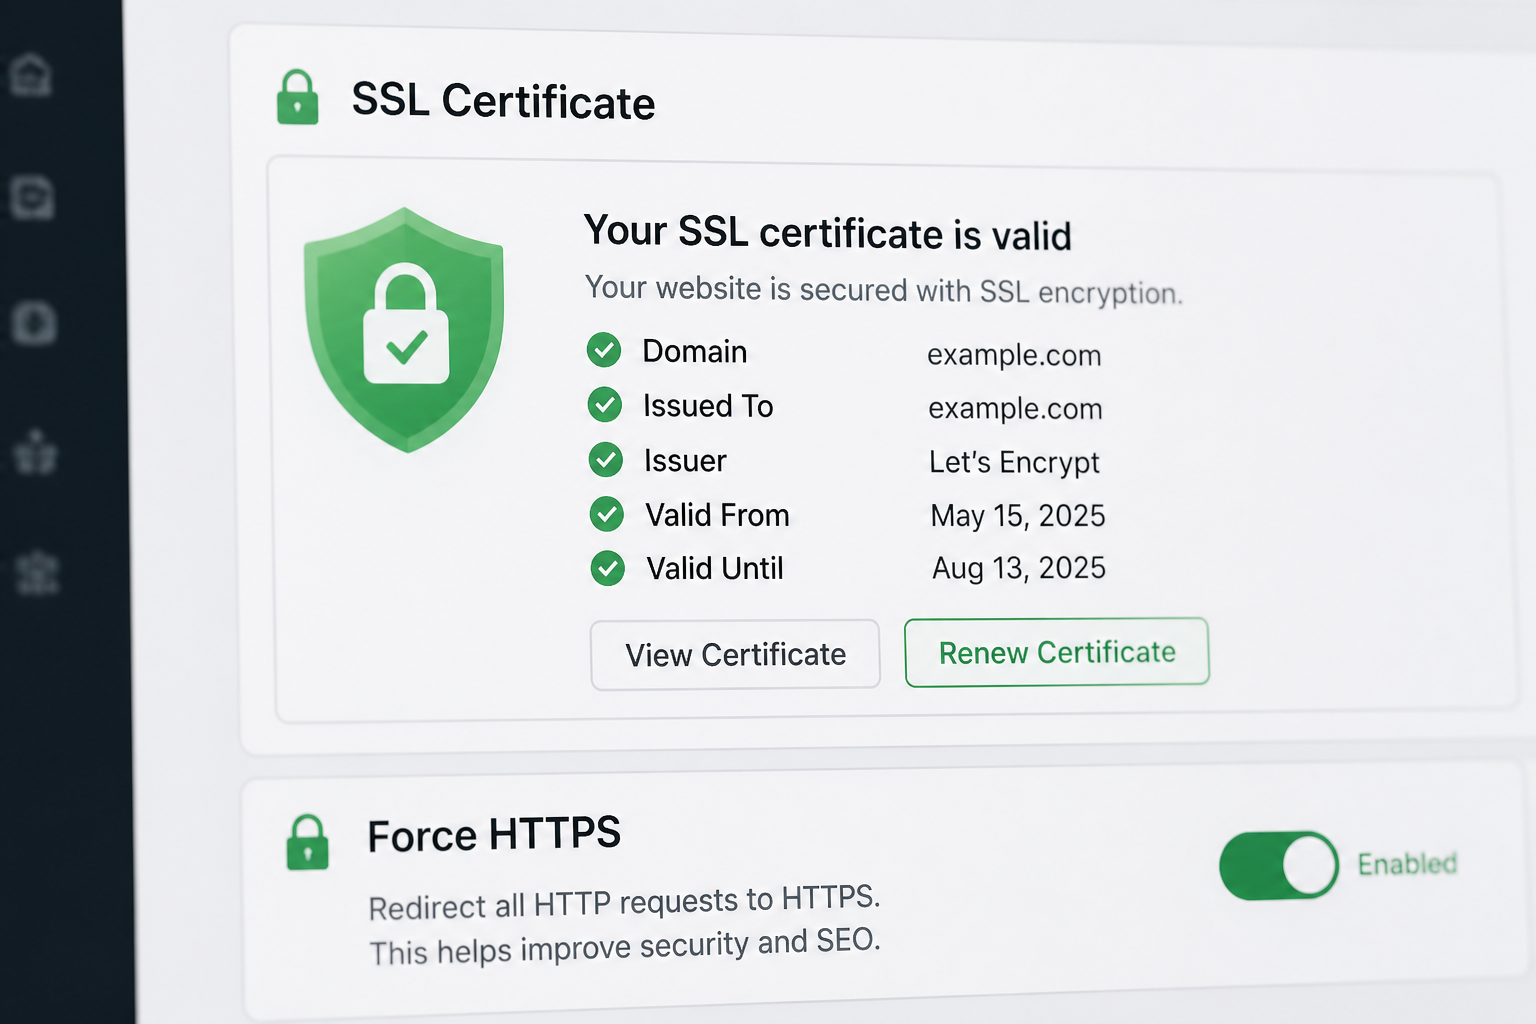
HTTPS provides three protections:
Encryption. Data in transit cannot be read by intermediaries. This protects admin login credentials, contact form data, WooCommerce checkout information, and session cookies.
Integrity. Data cannot be modified in transit without detection. Prevents injection of malicious scripts or content by network-level attackers.
Authentication. The certificate verifies the server is who it claims to be. Prevents man-in-the-middle attacks where a fake server intercepts traffic.
For WordPress specifically, HTTPS is a prerequisite for other security controls. Session cookie security flags, HSTS, and `FORCE_SSL_ADMIN` only work when the entire site serves over HTTPS.
Step 1: Install an SSL certificate
Most hosts provide free SSL via Let's Encrypt with one-click activation.
| Host type | How to enable SSL |
|---|---|
| Managed WordPress (Kinsta, WP Engine) | Usually enabled by default |
| cPanel hosts | SSL/TLS → AutoSSL or Let's Encrypt |
| Cloudflare | SSL/TLS → Full (Strict) with origin certificate |
| VPS/self-managed | Certbot (Let's Encrypt CLI tool) |
After installation, verify the certificate is valid: visit `https://yoursite.com` and check the padlock icon in the browser. Click it to view certificate details — confirm it covers your domain and is not expired.
Wildcard certificates cover subdomains (`*.yoursite.com`). Useful for multisite or staging subdomains. Standard certificates cover one domain (and usually `www`).
Step 2: Update WordPress URLs
WordPress stores site URLs in the database. Both must use `https://`:
- WordPress admin → Settings → General
- Change WordPress Address (URL) to `https://yoursite.com`
- Change Site Address (URL) to `https://yoursite.com`
- Save
If you cannot access admin (redirect loop), update via wp-config.php:
“`php
define('WP_HOME', 'https://yoursite.com');
define('WP_SITEURL', 'https://yoursite.com');
“`
Or via WP-CLI:
“`bash
wp option update home 'https://yoursite.com'
wp option update siteurl 'https://yoursite.com'
“`
Or directly in the database (wp_options table, `home` and `siteurl` rows).
Step 3: Force HTTPS redirects
Every HTTP request should redirect to HTTPS with a 301 (permanent) redirect.
Via .htaccess (Apache):
“`apache
RewriteEngine On
RewriteCond %{HTTPS} off
RewriteRule ^(.*)$ https://%{HTTP_HOST}%{REQUEST_URI} [L,R=301]
“`
Via nginx:
“`nginx
server {
listen 80;
server_name yoursite.com www.yoursite.com;
return 301 https://$host$request_uri;
}
“`
Via Cloudflare: SSL/TLS → Edge Certificates → "Always Use HTTPS" toggle.
Via WordPress plugin: Really Simple SSL handles redirect and mixed content detection automatically. Useful if you cannot edit server config.
Test: visit `http://yoursite.com` — should redirect to `https://yoursite.com` with no intermediate hops.
Step 4: Fix mixed content
Mixed content occurs when an HTTPS page loads resources (images, scripts, stylesheets) over HTTP. Browsers may block these resources, breaking functionality, or show security warnings.
Find mixed content:
- Browser DevTools → Console tab → look for "Mixed Content" warnings
- Online scanners (Why No Padlock, SSL Labs)
- Really Simple SSL plugin scans and fixes automatically
Common fixes:
- Update hardcoded `http://` URLs in content to `https://` or relative paths
- Change media library URLs (run a search-replace on the database if needed)
- Update theme and plugin settings that store full URLs
- Use `//yoursite.com/path` (protocol-relative) or `/path` (root-relative) in templates
Database search-replace (use WP-CLI or Better Search Replace plugin):
“`bash
wp search-replace 'http://yoursite.com' 'https://yoursite.com' –all-tables
“`
Always back up before running database search-replace.
Step 5: Harden wp-config.php for SSL
Add these constants after HTTPS is fully working:
“`php
// Force admin and login over SSL
define('FORCE_SSL_ADMIN', true);
// Secure session cookies
@ini_set('session.cookie_httponly', 1);
@ini_set('session.cookie_secure', 1);
@ini_set('session.use_only_cookies', 1);
“`
`FORCE_SSL_ADMIN` redirects all admin and login requests to HTTPS. Only enable after confirming HTTPS works site-wide — otherwise you lock yourself out of admin.
Step 6: Enable HSTS (optional but recommended)
HTTP Strict Transport Security tells browsers to always use HTTPS for your domain, even if someone types `http://`. Prevents SSL-stripping attacks.
Add to .htaccess or server config:
“`apache
Header always set Strict-Transport-Security "max-age=31536000; includeSubDomains; preload"
“`
Before enabling HSTS:
- Confirm HTTPS works perfectly on all pages
- Confirm all subdomains support HTTPS (HSTS applies to subdomains too)
- Start with a short `max-age` (86400 = 1 day) and increase after confirming stability
- HSTS preload submission is permanent — do not rush it
Cloudflare can also enable HSTS from the SSL/TLS dashboard.
SSL and Cloudflare
If using Cloudflare as a proxy:
| SSL mode | When to use |
|---|---|
| Off | Never for production |
| Flexible | Avoid — encrypts visitor-to-Cloudflare but not Cloudflare-to-origin |
| Full | Origin has SSL (even self-signed) |
| Full (Strict) | Origin has valid SSL certificate — use this |
"Flexible" mode means traffic between Cloudflare and your server is unencrypted. Use Full (Strict) with a valid origin certificate.
Install a Cloudflare Origin Certificate (free, 15-year validity) on your server for Full (Strict) mode.
HTTPS security checklist
| Task | Done? |
|---|---|
| Valid SSL certificate installed | ☐ |
| WordPress URLs updated to https:// | ☐ |
| HTTP → HTTPS 301 redirect active | ☐ |
| Mixed content resolved | ☐ |
| FORCE_SSL_ADMIN enabled in wp-config.php | ☐ |
| Secure cookie settings configured | ☐ |
| HSTS enabled (after verification) | ☐ |
| Cloudflare SSL mode set to Full (Strict) if applicable | ☐ |
Part of the full WordPress security hardening checklist.
Frequently asked questions
Is Let's Encrypt good enough?
Yes. Let's Encrypt certificates provide the same encryption as paid certificates. The difference with paid certs is warranty, support, and extended validation (EV) branding — none of which affect encryption strength.
Will HTTPS slow my site down?
Modern TLS adds negligible overhead. HTTPS enables HTTP/2 and HTTP/3, which often make sites faster. Any perceived slowdown is from misconfiguration, not encryption itself.
Do I need HTTPS if I do not collect payments?
Yes. WordPress admin login credentials travel in every admin session. Contact forms submit personal data. Session cookies authenticate users. All of this needs encryption regardless of payments.
What if my certificate expires?
Browsers show a warning and may block access entirely. Most hosts auto-renew Let's Encrypt certificates. Verify auto-renewal is working — check certificate expiry date quarterly.
Can I enable HTTPS without access to server config?
Yes. Plugins like Really Simple SSL handle redirects and mixed content at the WordPress level. Server-level configuration is cleaner, but plugin-based HTTPS enforcement works when server access is unavailable.
Get a free 15-minute security check
Send your URL. I will check whether HTTPS is enforced, whether mixed content is present, and whether your SSL configuration supports the other hardening controls (2FA cookies, HSTS, admin forcing).
SSL configuration is standard in WordPress security hardening projects — typically $300–$1,200.
September 3, 2026
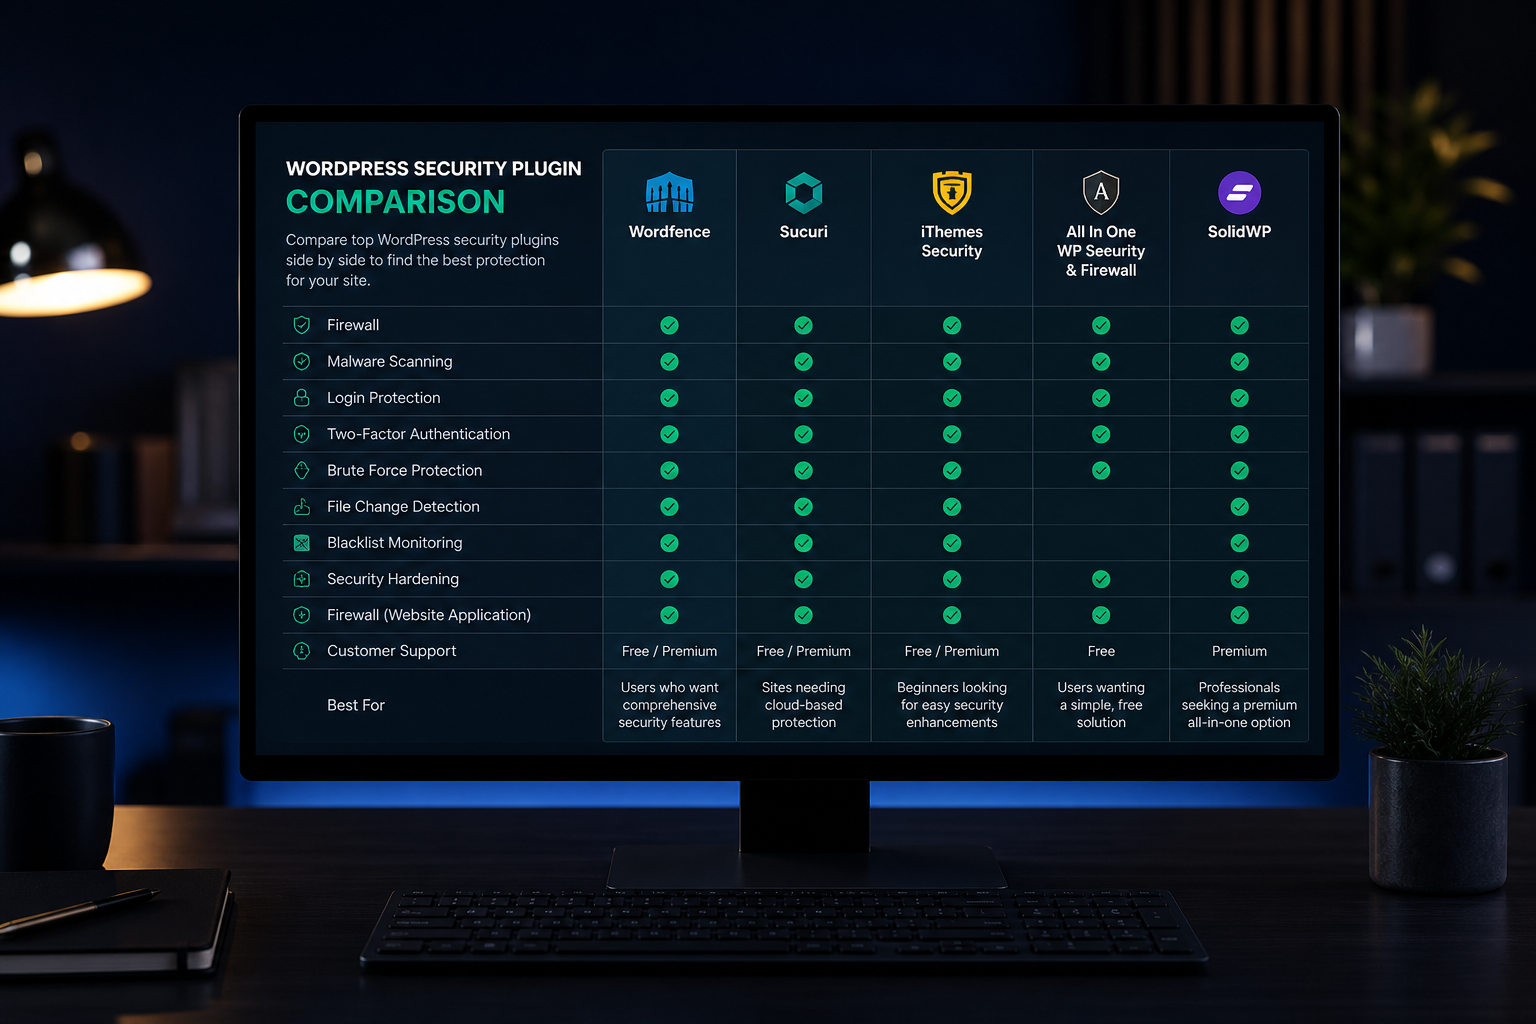
Best WordPress Security Plugins Compared (2026)
September 3, 2026